Full stack Software Developer / Author
Web App Development
Building modern, scalable apps using Ruby on Rails, Hotwire, and cutting-edge web tech.
Personal Branding for Developers
Helping developers craft standout personal brands through actionable strategies and ebooks.
Open Source Contributions
Actively contributing to open source projects and building tools to empower developers globally.
Academic Background
2021 - 2023
Master's in Computer Science (MCS)
Lincoln University College
• Specialized in Cyber Security, Advanced Computing, and Systems Management.
2013 - 2017
Bachelor of Science in CSIT
NIST College, Tribhuvan University
• Foundation in Software Development, Data Structures, Networking, and Core Computing Principles.
Career Timeline
2025 – Present
Full stack Software Developer
9feathers, Inc.
• Leading Full Stack Development for an Employee Recognition and Reward Management Platform, utilizing Test-Driven Development (TDD) methodologies.
2019 – 2025
Full stack Software Developer
Danphe Software Labs
• Developed both backend/frontend for applications
focused on assessing
Employee Work Experience.
• Contributed key modules for Financial Management
Software,
emphasizing scalable, test-driven architecture.
Interests
Personal Branding
Passionate about helping developers and tech professionals build impactful online identities.
Web Development & Open Source
Enjoy building modern web apps with Rails, Hotwire, and contributing to open-source projects.
Productivity & Automation
Love exploring automation tools and productivity hacks to optimize daily workflows.
Tech Writing & Content Creation
Enthusiastic about writing ebooks, guides, and tutorials to share knowledge and inspire others.
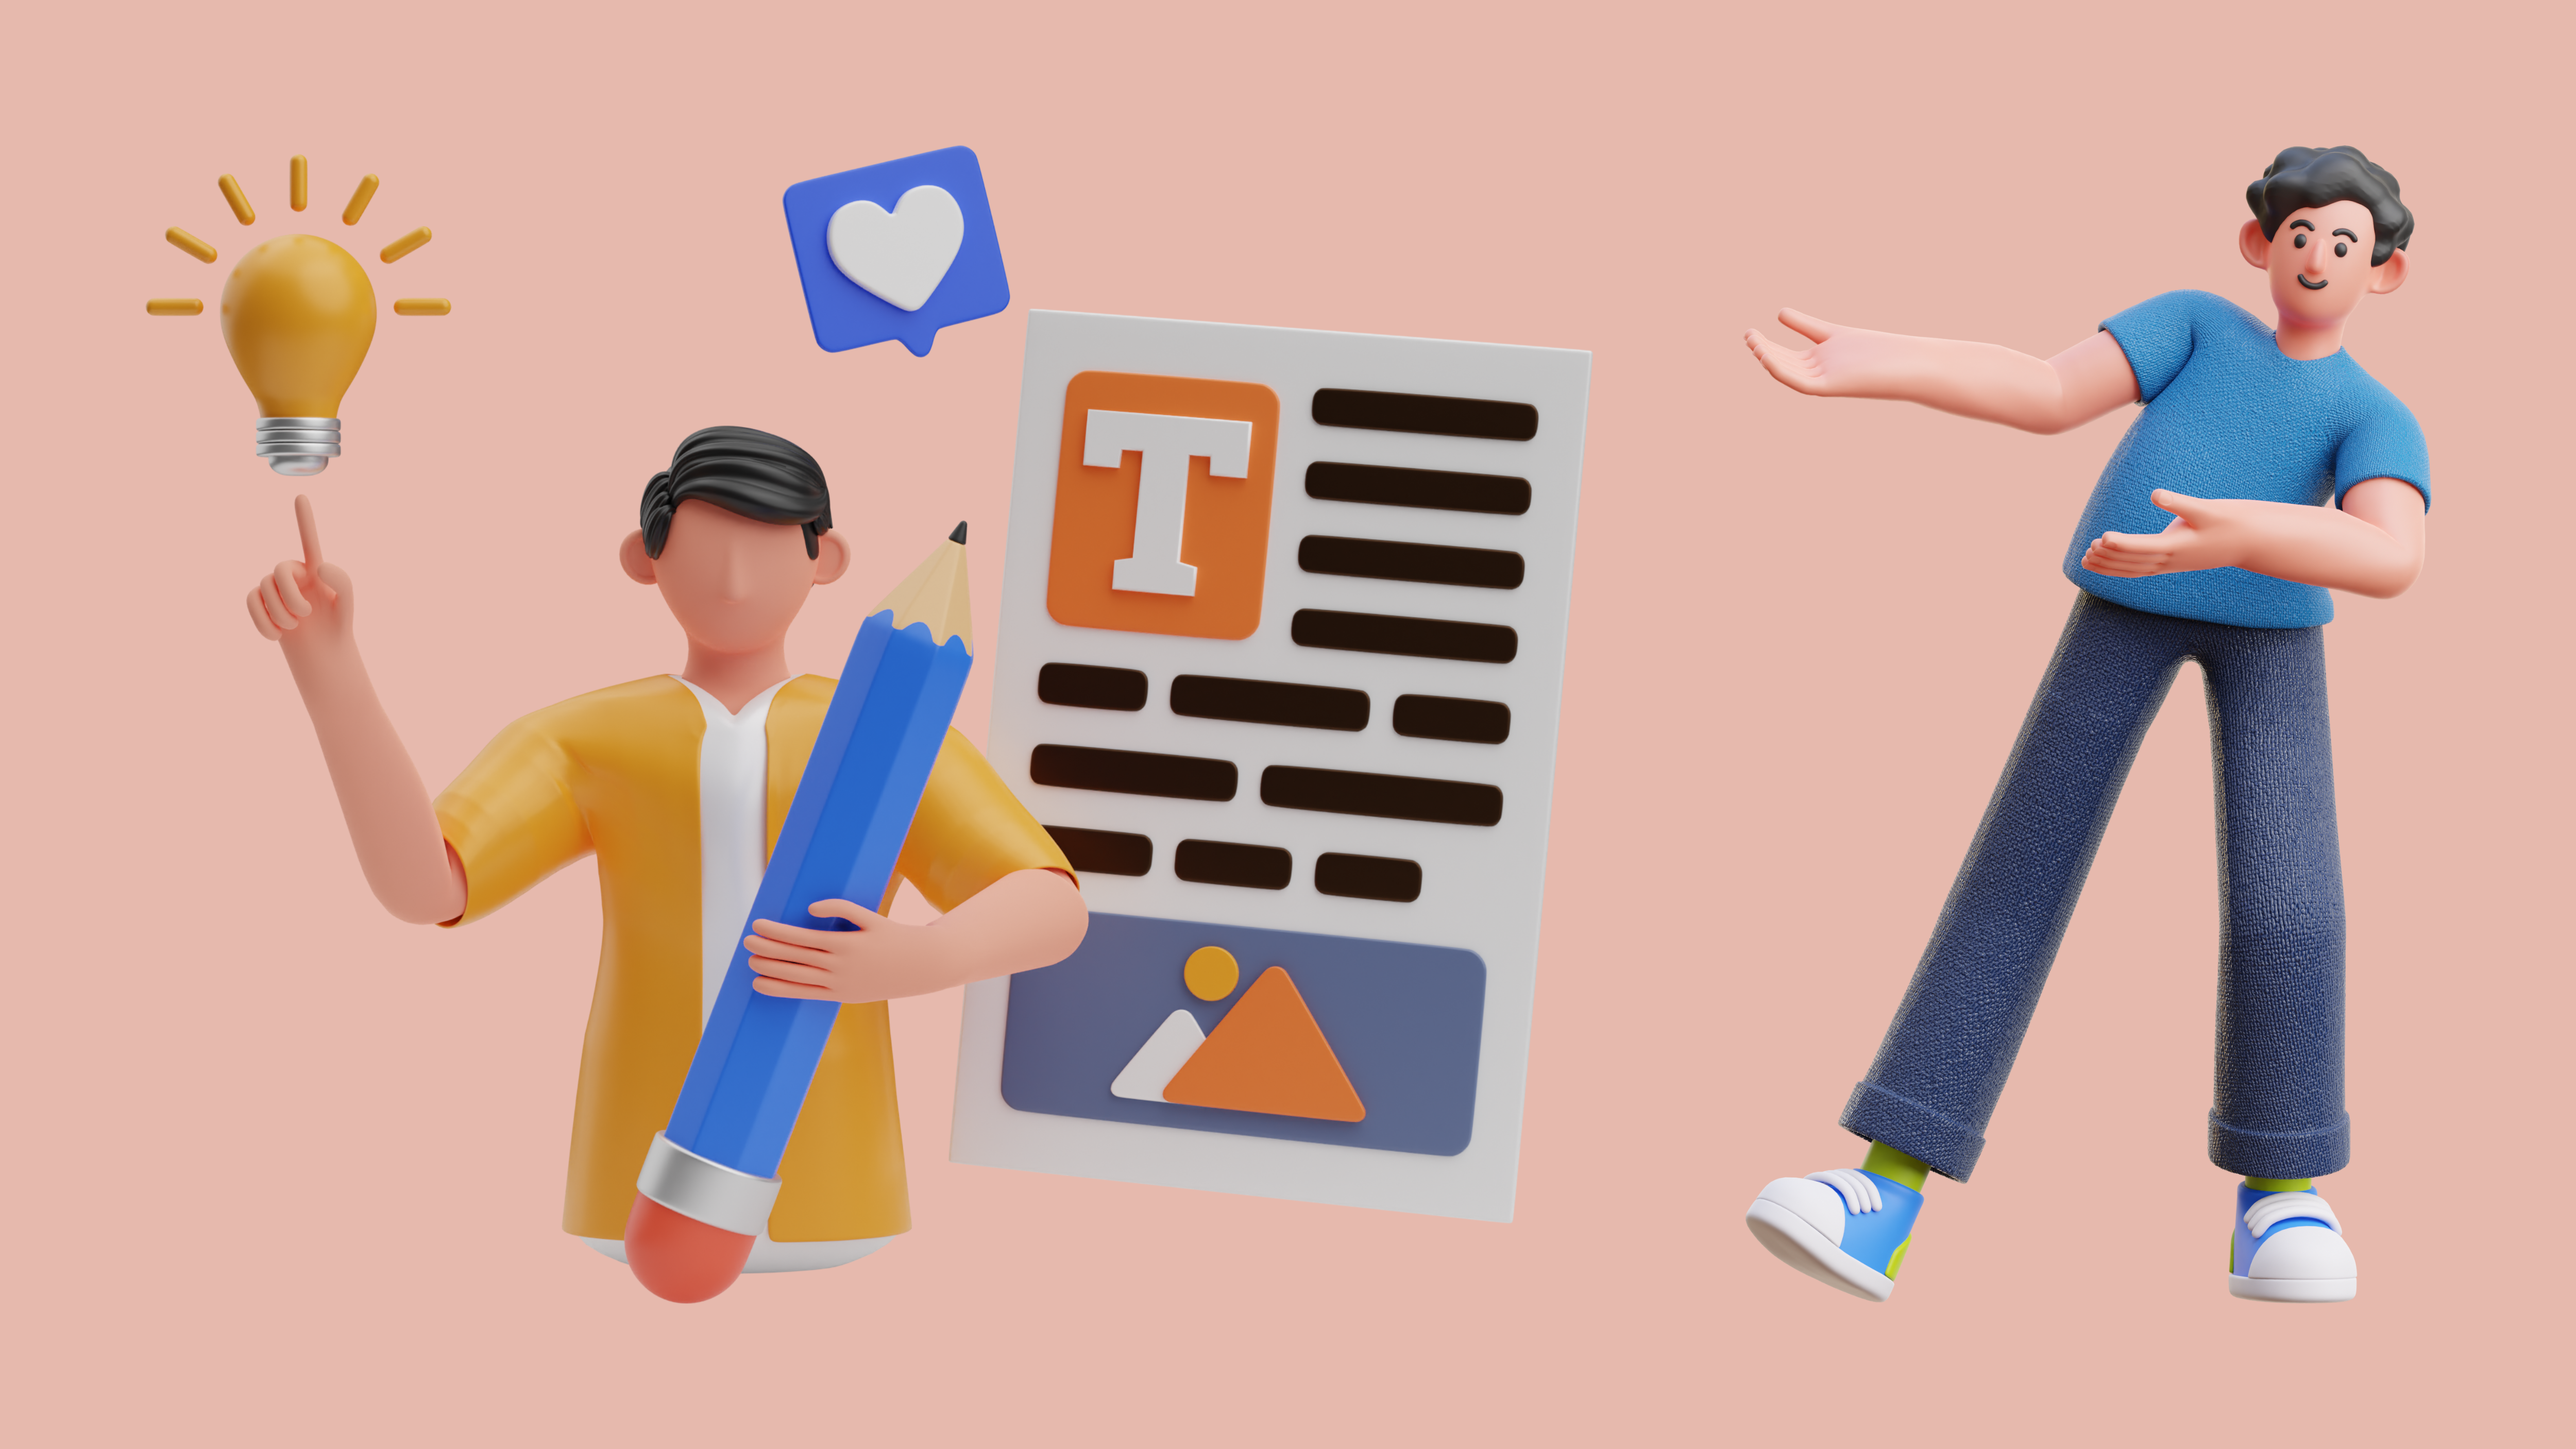
As a passionate full stack software developer and digital creator, I help developers grow their personal brand and build a powerful online presence.

TrackARU
App | cdrrazan - 2025
Never Forget A Subscription Again!
• Track, manage and optimize all your subscriptions in one place. Save money and avoid unexpected charges.

TweetX
App | cdrrazan - 2025
Your Developer-First Tweet Automation Toolkit!
• Schedule, post, manage, and automate tweets —
all with a clean Ruby-powered CLI and UI.
• Built using Ruby & Sinatra.

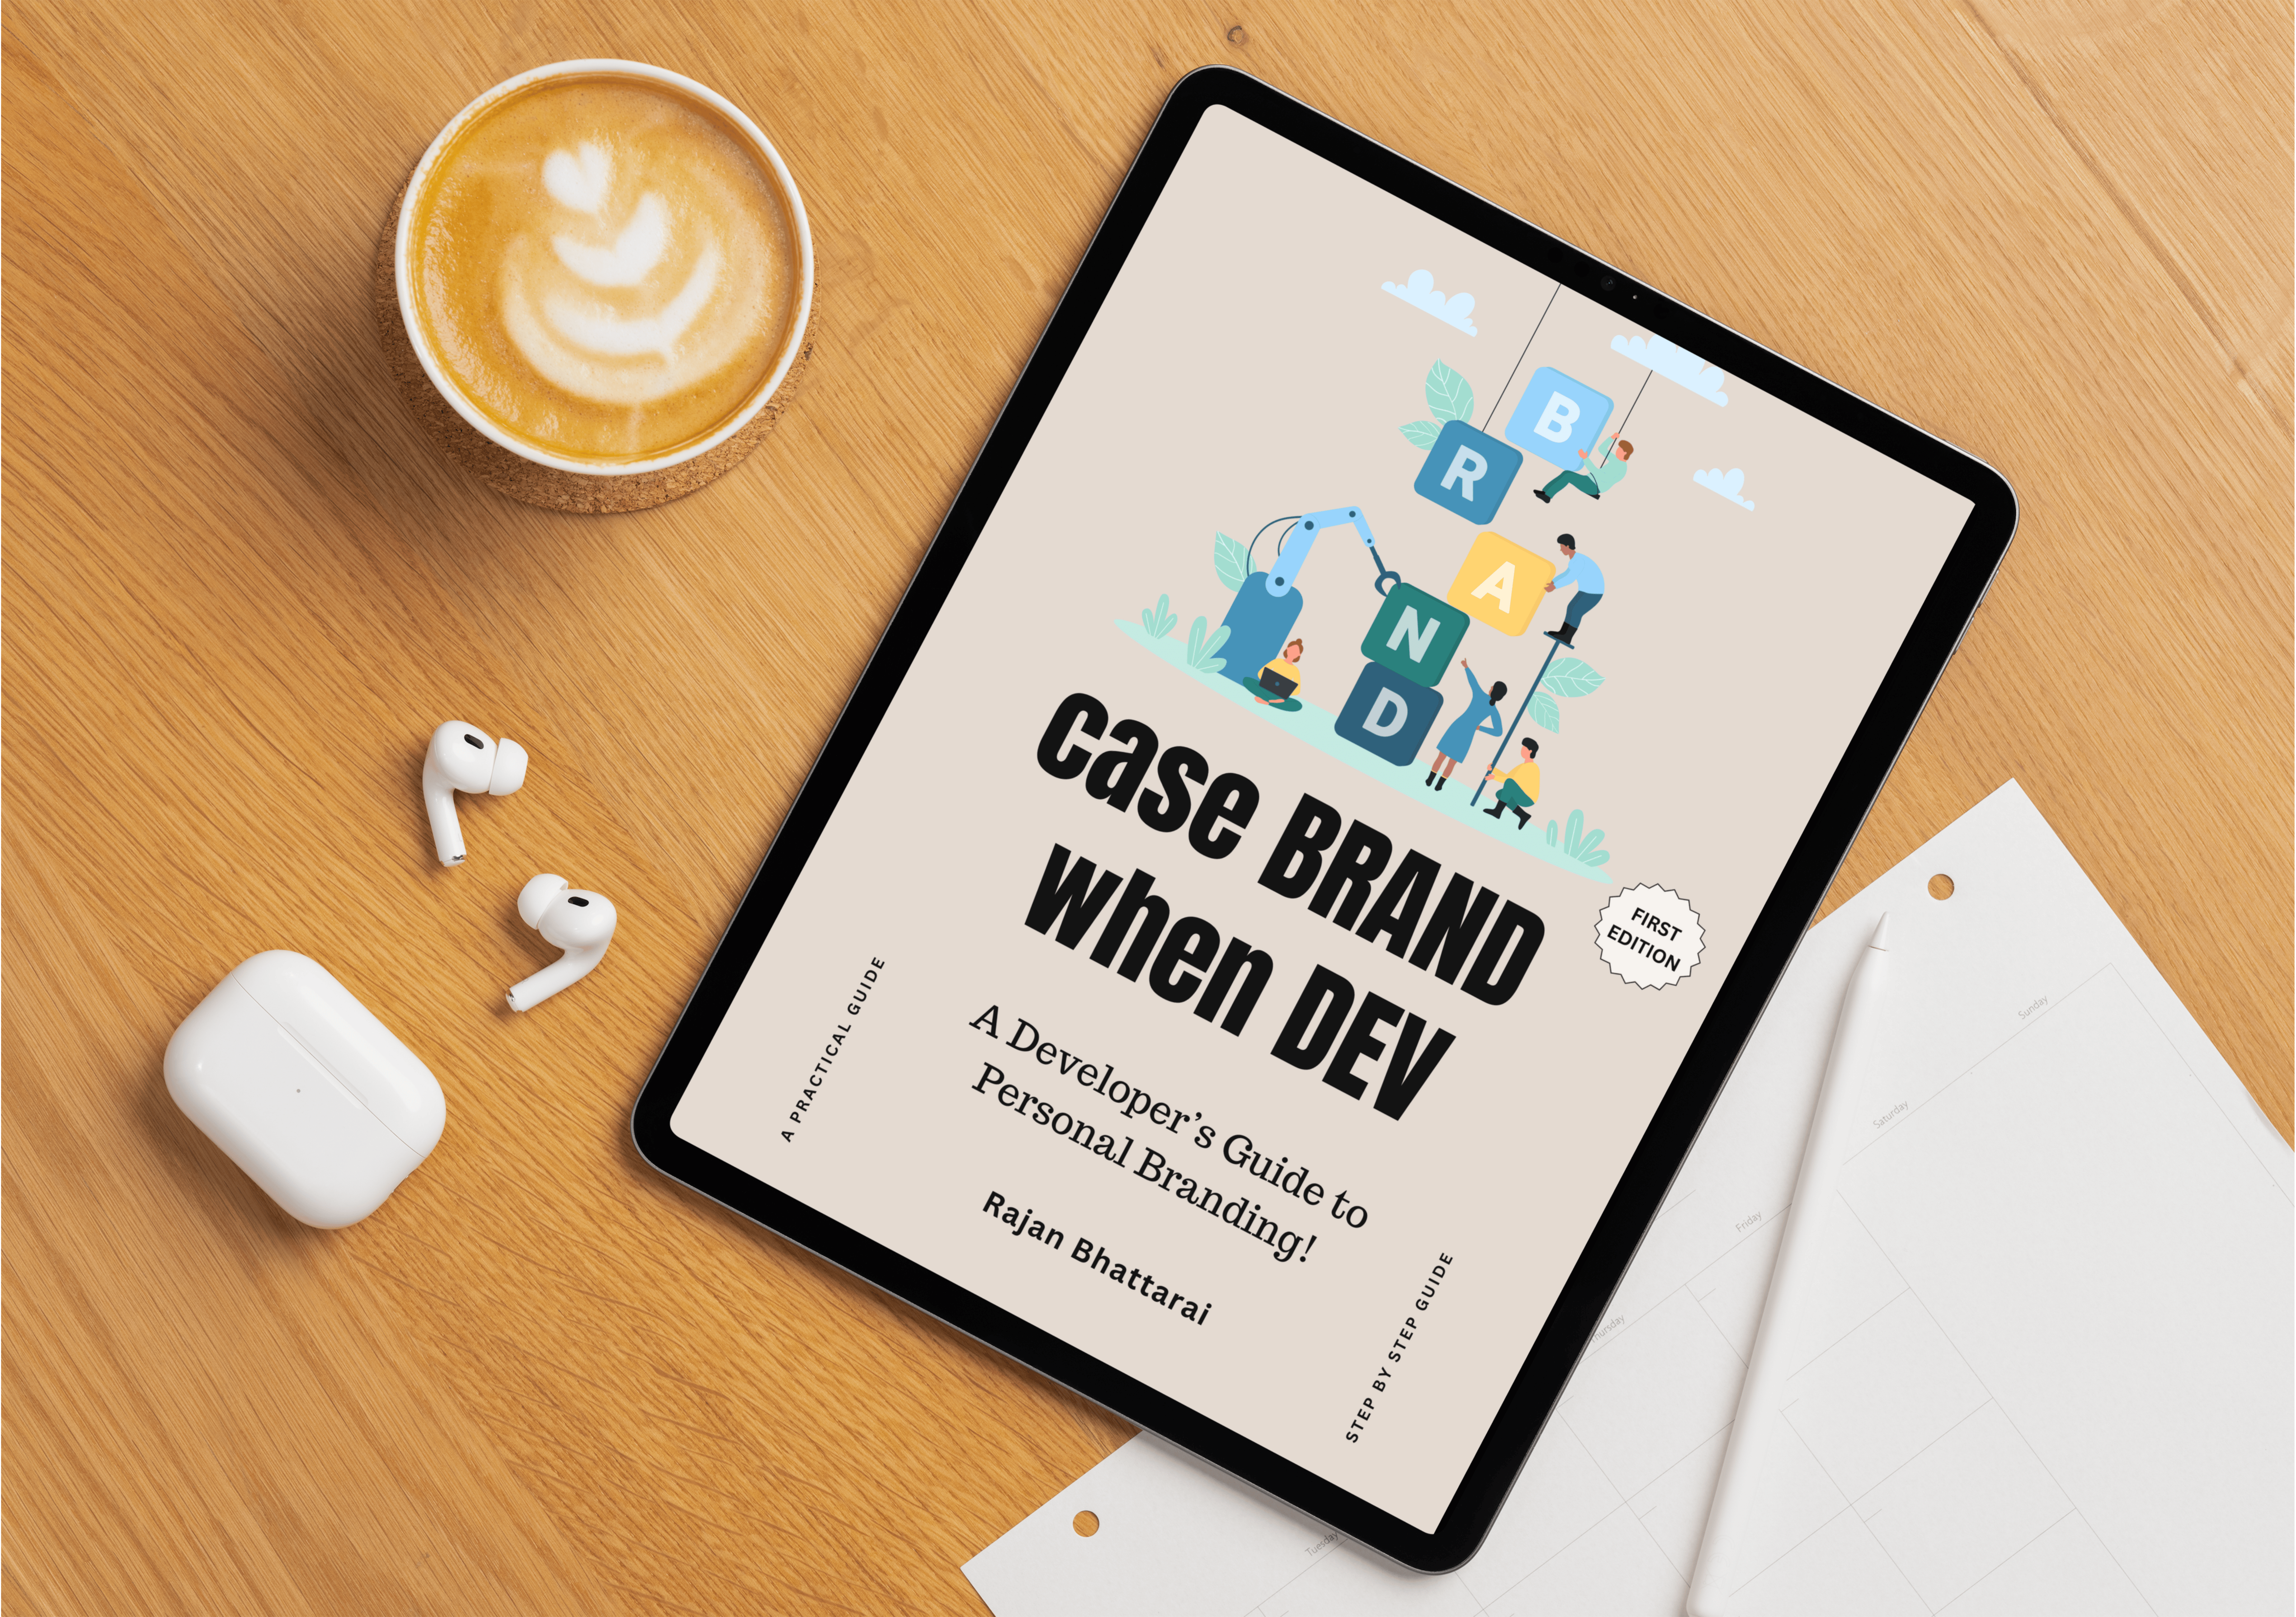
Case Brand when DEV
ebook | cdrrazan - 2025
A Developer's Guide to Personal Branding!
• For developers to build a standout personal brand, grow their online presence, and unlock career growth.

Custom Domain & Email 101
ebook | cdrrazan - 2025
Affordable Strategies for Professionals
• Essential guide to effortlessly and affordably setting up professional domains and emails.

showARU
Jekyll Themes | cdrrazan - 2025
A Fast & Minimal Link Hub
• The DIY self-hosted LinkTree alternative.
Showaru has more than 100 branded button
styles you can easily use.

Prasad
Jekyll Themes | cdrrazan - 2025
Portfolio & Blog Theme
• Complete Jekyll theme designed for portfolio and blog for developers, forked version of Affiliate theme 🌐.
TweetX
Ruby CLI | cdrrazan - 2025
⚞ TweetX - Tweet Dashboard & Scheduler
• Lightweight, developer-friendly tweet scheduler and dashboard designed for coders, writers, and creators who want to stay consistent without the hassle.
passgenX
Ruby CLI | cdrrazan - 2025
⚞ Password Generator CLI
• Secure, deterministic password generator based on a master password, domain, and secret identifier.
Certgen
Ruby CLI | cdrrazan - 2025
⚞ Free SSL certificates Generator!
• Ruby CLI tool to generate free SSL certificates from Let's Encrypt. [90 days validity] Perfect for developers and site owners!
Brand KIT
Ruby CLI | cdrrazan - 2025
⚞ Domain & Social Media Username Checker
• Modern, interactive CLI tool to check the availability of domains and social media usernames
relinkly
ruby Gem | cdrrazan - 2025
⚞ Relinkly - rebrandly Wrapper
• An upgraded Ruby wrapper for the Rebrandly API from the fork!

digitonX Shop
payhip | cdrrazan - 2025
Ebook Store
• Browse our growing collection of digital products designed to boost your productivity and presence. Available now on our official ebook shop.

ko-fi Support
ko-fi | cdrrazan - 2025
Support Platform
• 📚 Case Brand when Dev — A Developer's Guide to Personal Branding! Ready to stand out as a developer? 🚀 Order now and level up your career! 👇 #CaseBrandwhenDEV
Gumroad
Gumroad Shop | cdrrazan - 2025
Alternative Shop
• Browse our growing collection of digital products designed to boost your productivity and presence. Available now on our official gumroad shop.

digitonX | Site
Marketing | cdrrazan - 2025
All about us
• Discover actionable insights and resources to build your online presence, featuring strategies from the ebook "Case Brand when DEV."

rSYNK blog
🌱 The Alpha Account
• For updates, insights, and a glimpse behind
the scenes from all other pages and accounts!
🌐.
• Built using Jekyll | Hosted in Cloudflare

FirstDEV
Blog | cdrrazan - 2025
⚞ Well, Blog First!
• FirstDEV is a blog publishing platform with target to the newer Ruby 3 + and Rails 7.x / 8.x. Sharing tips, tutorials, or technical insights.

photoinX
Amateur Photography/Video 📸
• Click Sunsets/Sky/Cloud 🏞️ - Contributed by
@cdrrazan || @travelxlog.
• Built in Jekyll | Hosted in Cloudflare.

viewARU
Newsletter | cdrrazan - 2025
Branding Newsletter for DEVs!
• For developers and creators who want to grow their online presence, & master personal branding!

vA
Podcast | RSYNK - 2025
Branding podcast from vA!
• vA - S01 - Podcasts For developers and creators who want to grow their online presence, & master personal branding!
Jekyll Talks
meetup | RSYNK - 2019
Jekyll Themes and Zero Cost Hosting!
• Ruby Nepal Meetup, Episode 14.
• Venue- CloudFactory Nepal.
• Date - 29th Sept, 2019
FOSS Seminar
seminar | RSYNK - 2017
FOSS & Linux
• 1 hour Seminar talk show in the Topic of FOSS
and Linux what is/how to and when story.
• Venue - NIST College, Banepa
• Date - 2017-03-17
Services
Web Development
Custom websites, web apps, and landing pages tailored for performance and simplicity.
Open Source Contribution
Active collaboration, code reviews, and support for meaningful open-source tools and libraries.
Automation & Developer Tools
CLI tools, scripts, and automation dashboards (e.g., TweetX, Ruby gems) built for devs.
Software Consultation
Architecture planning, stack selection, and technical decisions to streamline your product build.
Developer Personal Branding
1:1 sessions, ebook resources, and actionable toolkits to grow your developer presence.
Technical Writing
High-quality documentation, blogs, and guides that speak clearly to a tech audience.
Resume & Portfolio Website
Modern, ATS-compliant resumes and developer-first portfolio pages that stand out.
Domain & Hosting Consultation
Helping you pick, set up, and configure your domain and hosting affordably and efficiently.
Brand Strategy & Social Media
Content planning and social growth strategies tailored for developers and creators.
My eBooks
Case Brand when DEV
A practical guide for developers to build a standout personal brand, grow their online presence, and unlock career opportunities.
Custom Domain & Email 101
A step-by-step handbook to easily set up your custom domain and professional email, using free or affordable tools — even if you're just getting started.
Personal Branding eBook
Discover “Case Brand when DEV” — a guide crafted for developers to build their personal brand and grow their online presence. Includes actionable strategies, worksheets, and examples.
Bonus Guide on Domains & Emails
Free with the main ebook, this bonus guide helps you set up a professional custom domain and email affordably — ideal for freelancers, devs, and indie hackers.
digitonX Shop
Browse our growing collection of digital products designed to boost your productivity and presence. Available now on our official ebook shop.
FAQs | digitonX Shop

Yes, the ebook shop accepts all major credit/debit cards and supports payments in USD and other currencies through Payhip's secure checkout system.
You’ll receive the full digital ebook (PDF), interactive worksheets, bonus checklists, and access to exclusive updates and resources shared with readers.
Absolutely! While tailored for developers, the principles of personal branding, online presence, and visibility apply to freelancers, creators, and other professionals too.
Due to the nature of digital products, all sales are final. However, if you experience any issue with the download or content, reach out and it will be resolved promptly.
All materials are provided in standard formats (PDF, links, etc.) that you can open with any device or browser. No extra tools are required beyond basic reading/viewing apps.
Latest Blog!
Insights and updates from my journey in tech, development, and personal branding including Hobbies!
RSYNKcom / May 07, 2025
RSYNK – Welcome to the Blog!
The blog is now the first site to keep up with anything and everything related about them, such as the news, updates and announcements/releases.
FirstDEV - Dev Blog | May 13, 2025
Mastering Ruby’s Closures - Blocks, Procs, and Lambdas Explained
As seasoned Ruby developers, we often leverage the language’s expressive syntax and powerful features to write clean and efficient code.
digitonX | Shop | April 1, 2025
Case Brand when DEV is finally launched
The wait is over—Case Brand when DEV is officially launched! 🎉 If you’re a developer, freelancer, or software engineer, you already know that technical skills alone aren’t enough to stand out.

Photoinx - Photography Blog | May 15, 2025
Amateur Photography/Video 📸
Clicks Sunsets/Sky/Cloud 🏞️ Explore stunning sunsets, dreamy skies, and mesmerizing cloudscapes — a serene visual escape into nature’s most captivating moments - Contributed by @cdrrazan || @travelxlog.
Quick Contact
Leave a Message
Have a question, idea, or just want to say hello? Fill out the form and I’ll get back to you shortly. I value every message!
Meet my other Profiles
Explore other profiles for pages/accounts!
For expressing professional & dev updates!
For expressing dev updates only!
Discover actionable insights and resources to
build your online presence,
featuring strategies from the ebook "Case
Brand when DEV."
🌱 The Alpha Account: Where it all begins!
Follow for updates, insights, and a glimpse
behind the scenes from all other pages and
accounts! 🌐
Newsletter to DEVs by DEVs — boost your Personal Brand & career! 🚀
Visit viewaru.comBlog publishing platform with target to the newer Ruby 3 + and Rails 7.x / 8.x + .
Visit FirstDEVAmateur Photography/Video 📸 - Click
Sunsets/Sky/Cloud 🏞️ -
Contributed by @cdrrazan || @travelxlog
Your daily dose of tech updates! 📱💻 Stay
informed with the latest in tech news,
trends, and innovations.
#Techxlog. Maintained by . @cdrrazan
#TechXdaily 🌐🚀
Effortless Subscription Management, One Workspace at a Time.
Visit AppBuilt with Love @ RSYNK
Every project we launch is built to help developers shine, simplify, or start something new.
📘 Case Brand when DEV
Our flagship ebook to help devs build a personal brand that opens doors.
🤖 TweetX Automation
Tweet smarter, not harder—with our CLI & dashboard for content creators.
🎨 Portfolio & Link Hub
Clean, customizable themes to make your portfolio or Link page pop and pass the filters.
For creative digital tools — from developer-focused eBooks and resume themes to smart automation utilities. Built to empower, crafted with care.
Connect With Me
Follow me on these platforms for more updates, insights, and resources.